Using Environments
Environments allow you to safely push and validate changes to templates in stages to align with the environments in your deploy process.
OneSchema automatically sets up environments for Production, Staging, and Development. See our guide on custom environments to set up custom environments.
What is an Environment?
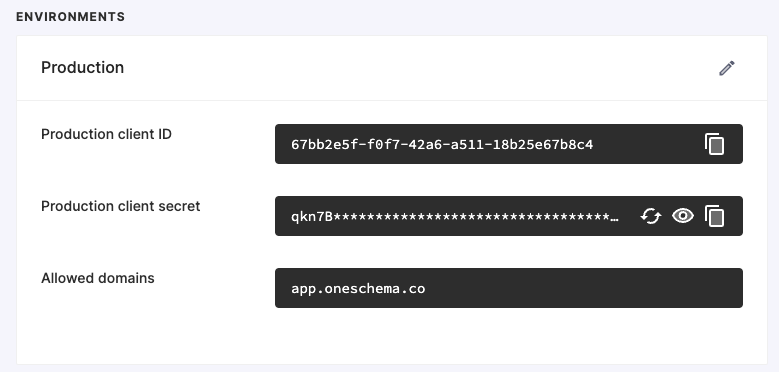
An Environment consists of three components:
- A Client ID
- A Client Secret
- A list of Allowed Domains
The Client ID is a public value and will be used in your JavaScript code to initialize an embedded session. The Client Secret is a secret value that you will use on your servers to create a secure token for a user going through the embedded import flow.
Allowed Domains are domains where OneSchema can be embedded. When embedding OneSchema into your own site, you will create an <iframe> element that opens embed.oneschema.co. For security reasons, OneSchema sets request headers to prevent it from being embedded into another webpage. You may specify multiple domains for each environment.
Configuring your Importer with Environments
If this is your first time setting up the embed, follow the instructions in our Importer Embedding with Quickstart guide.
Once you have set up your first embed, configure each environment in your deployment process to use the corresponding Client ID and Client Secret pair generated. Refer to our guide on Generating JWTs for JWT configuration with the Client ID and Client Secret.
Modifying Templates
Pushing Changes to Environments
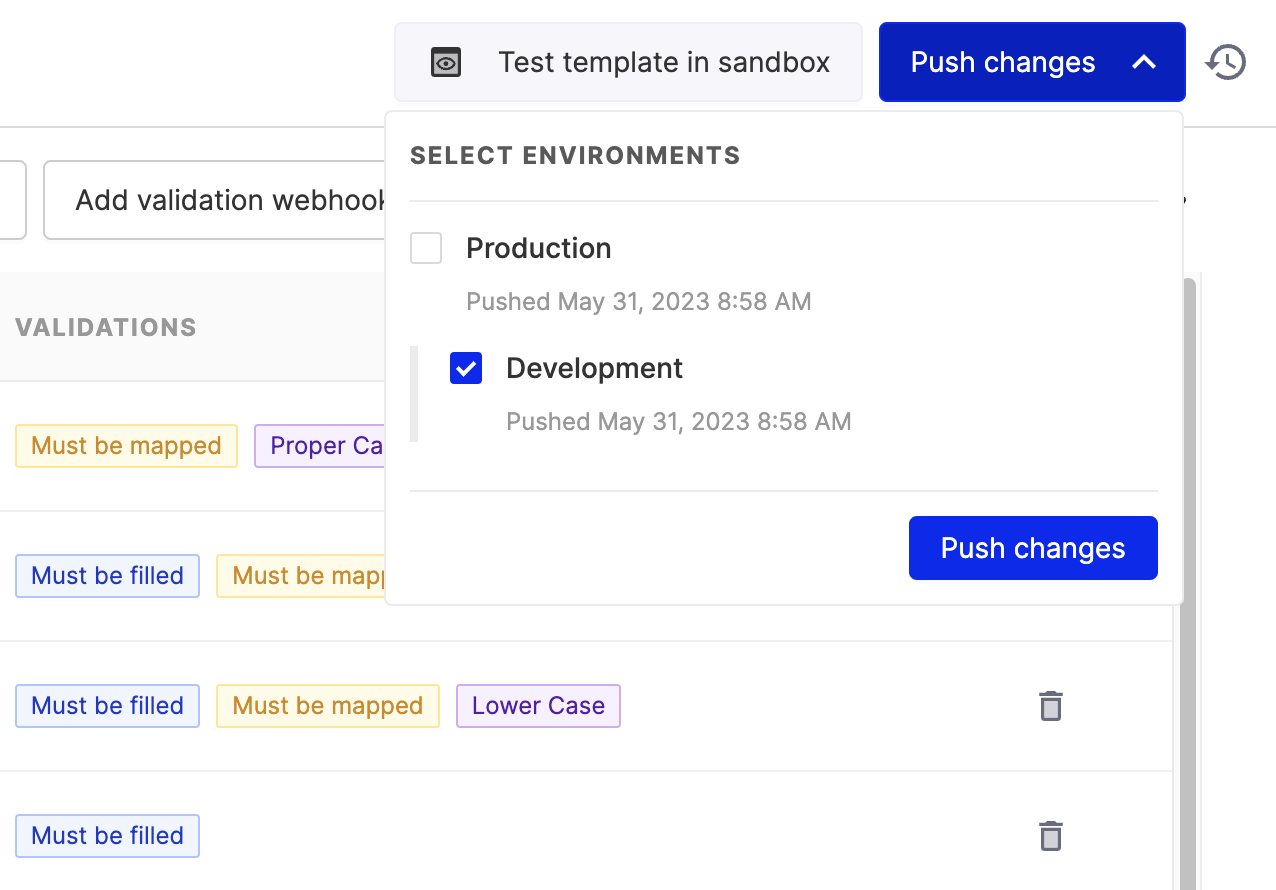
After setting up your environments, you can easily push template changes to them. Follow these steps to push changes:
- Make the necessary changes to a template.
- Go to the "Push changes" dropdown menu.
- Select the environments where you want to see those changes.
Note: your importer will not see changes until they have been pushed to environments.
The Production environment is a special environment. When your template changes are pushed to production, they must also be pushed to all other environments.
Viewing Unpushed Changes
After making changes to your template, you can view the state of changes that are not yet pushed to any environment. Click on the template environments status bar indicator to open the unpushed changes sidebar.
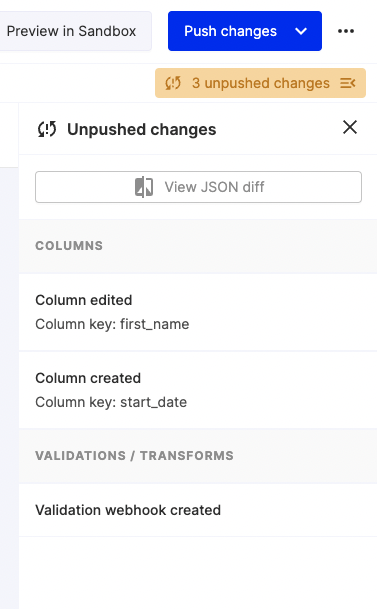
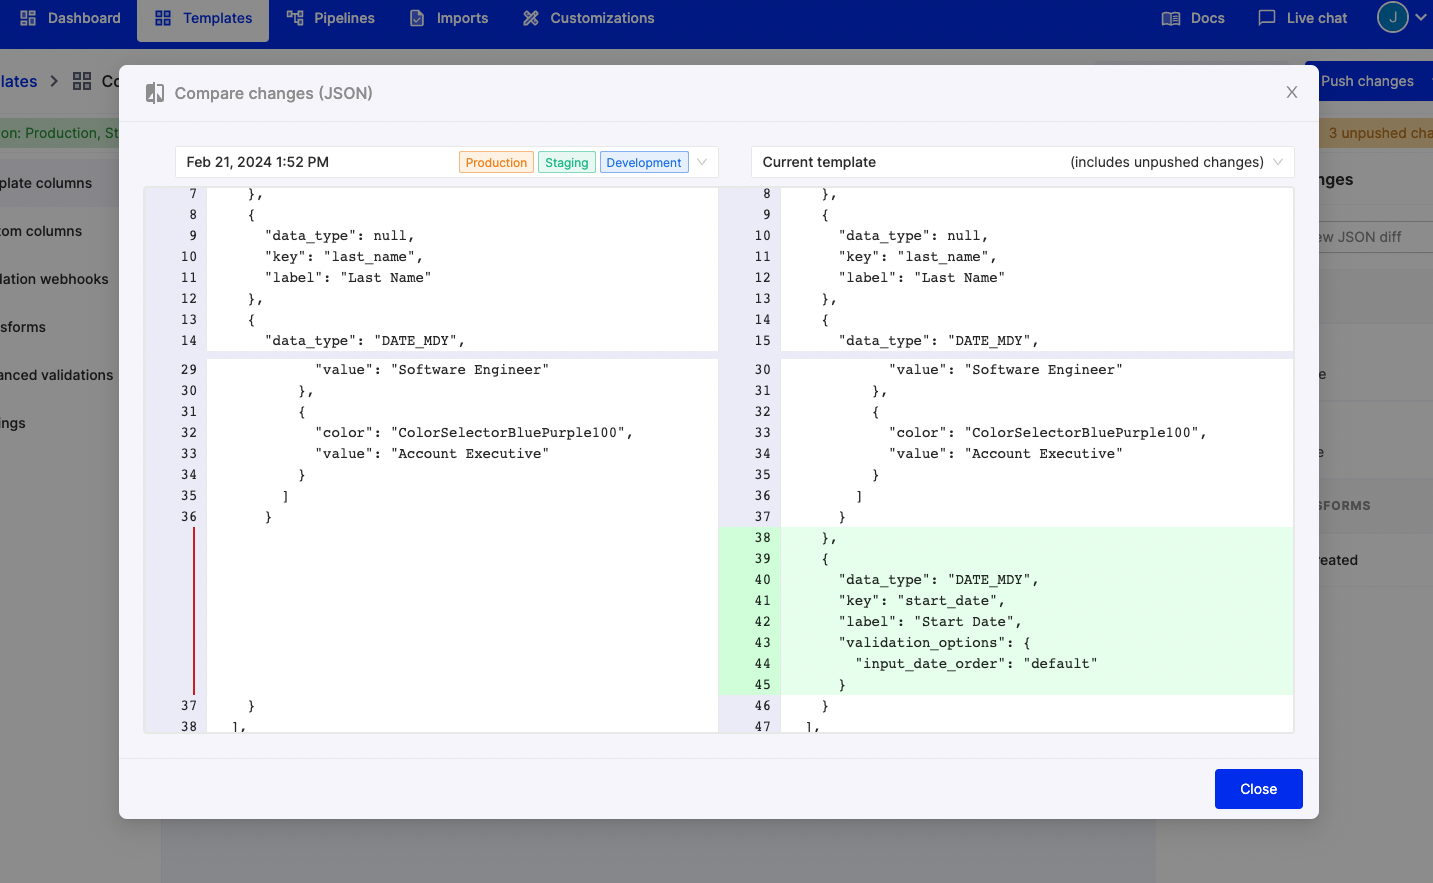
For more details on the unpushed changes, click on the "View JSON diff" button to compare the current state of the template against a previously pushed version.
Viewing the Change Log
After pushing changes to environments, you can view the state of your latest push in the template environments status bar. Clicking on the environments indicator will show the change log dropdown.
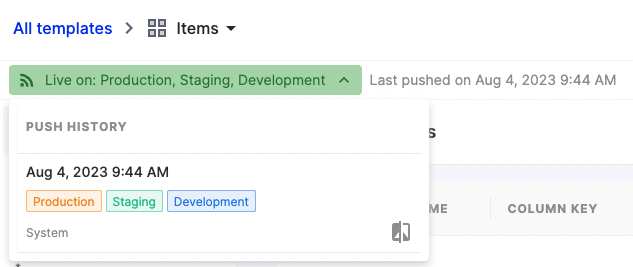
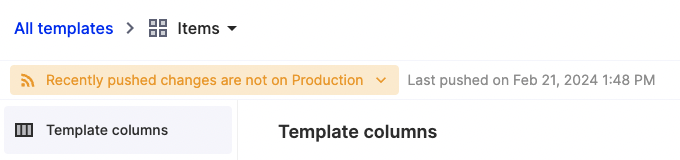
If the production environment was not included in the last push, this will be indicated in the status bar.
Using Environment Variables
Environment variables are dynamic values that can be accessed in Validation Webhooks and Importer Webhooks when the Embed is initialized. Environment variables can enable you to test different configurations against different environments in your deploy process.
Defining Variables
To define environment variables, follow these steps:
- From your developer dashboard, go to Environment Variables in the side navigation.
- Click on "Add a new variable."
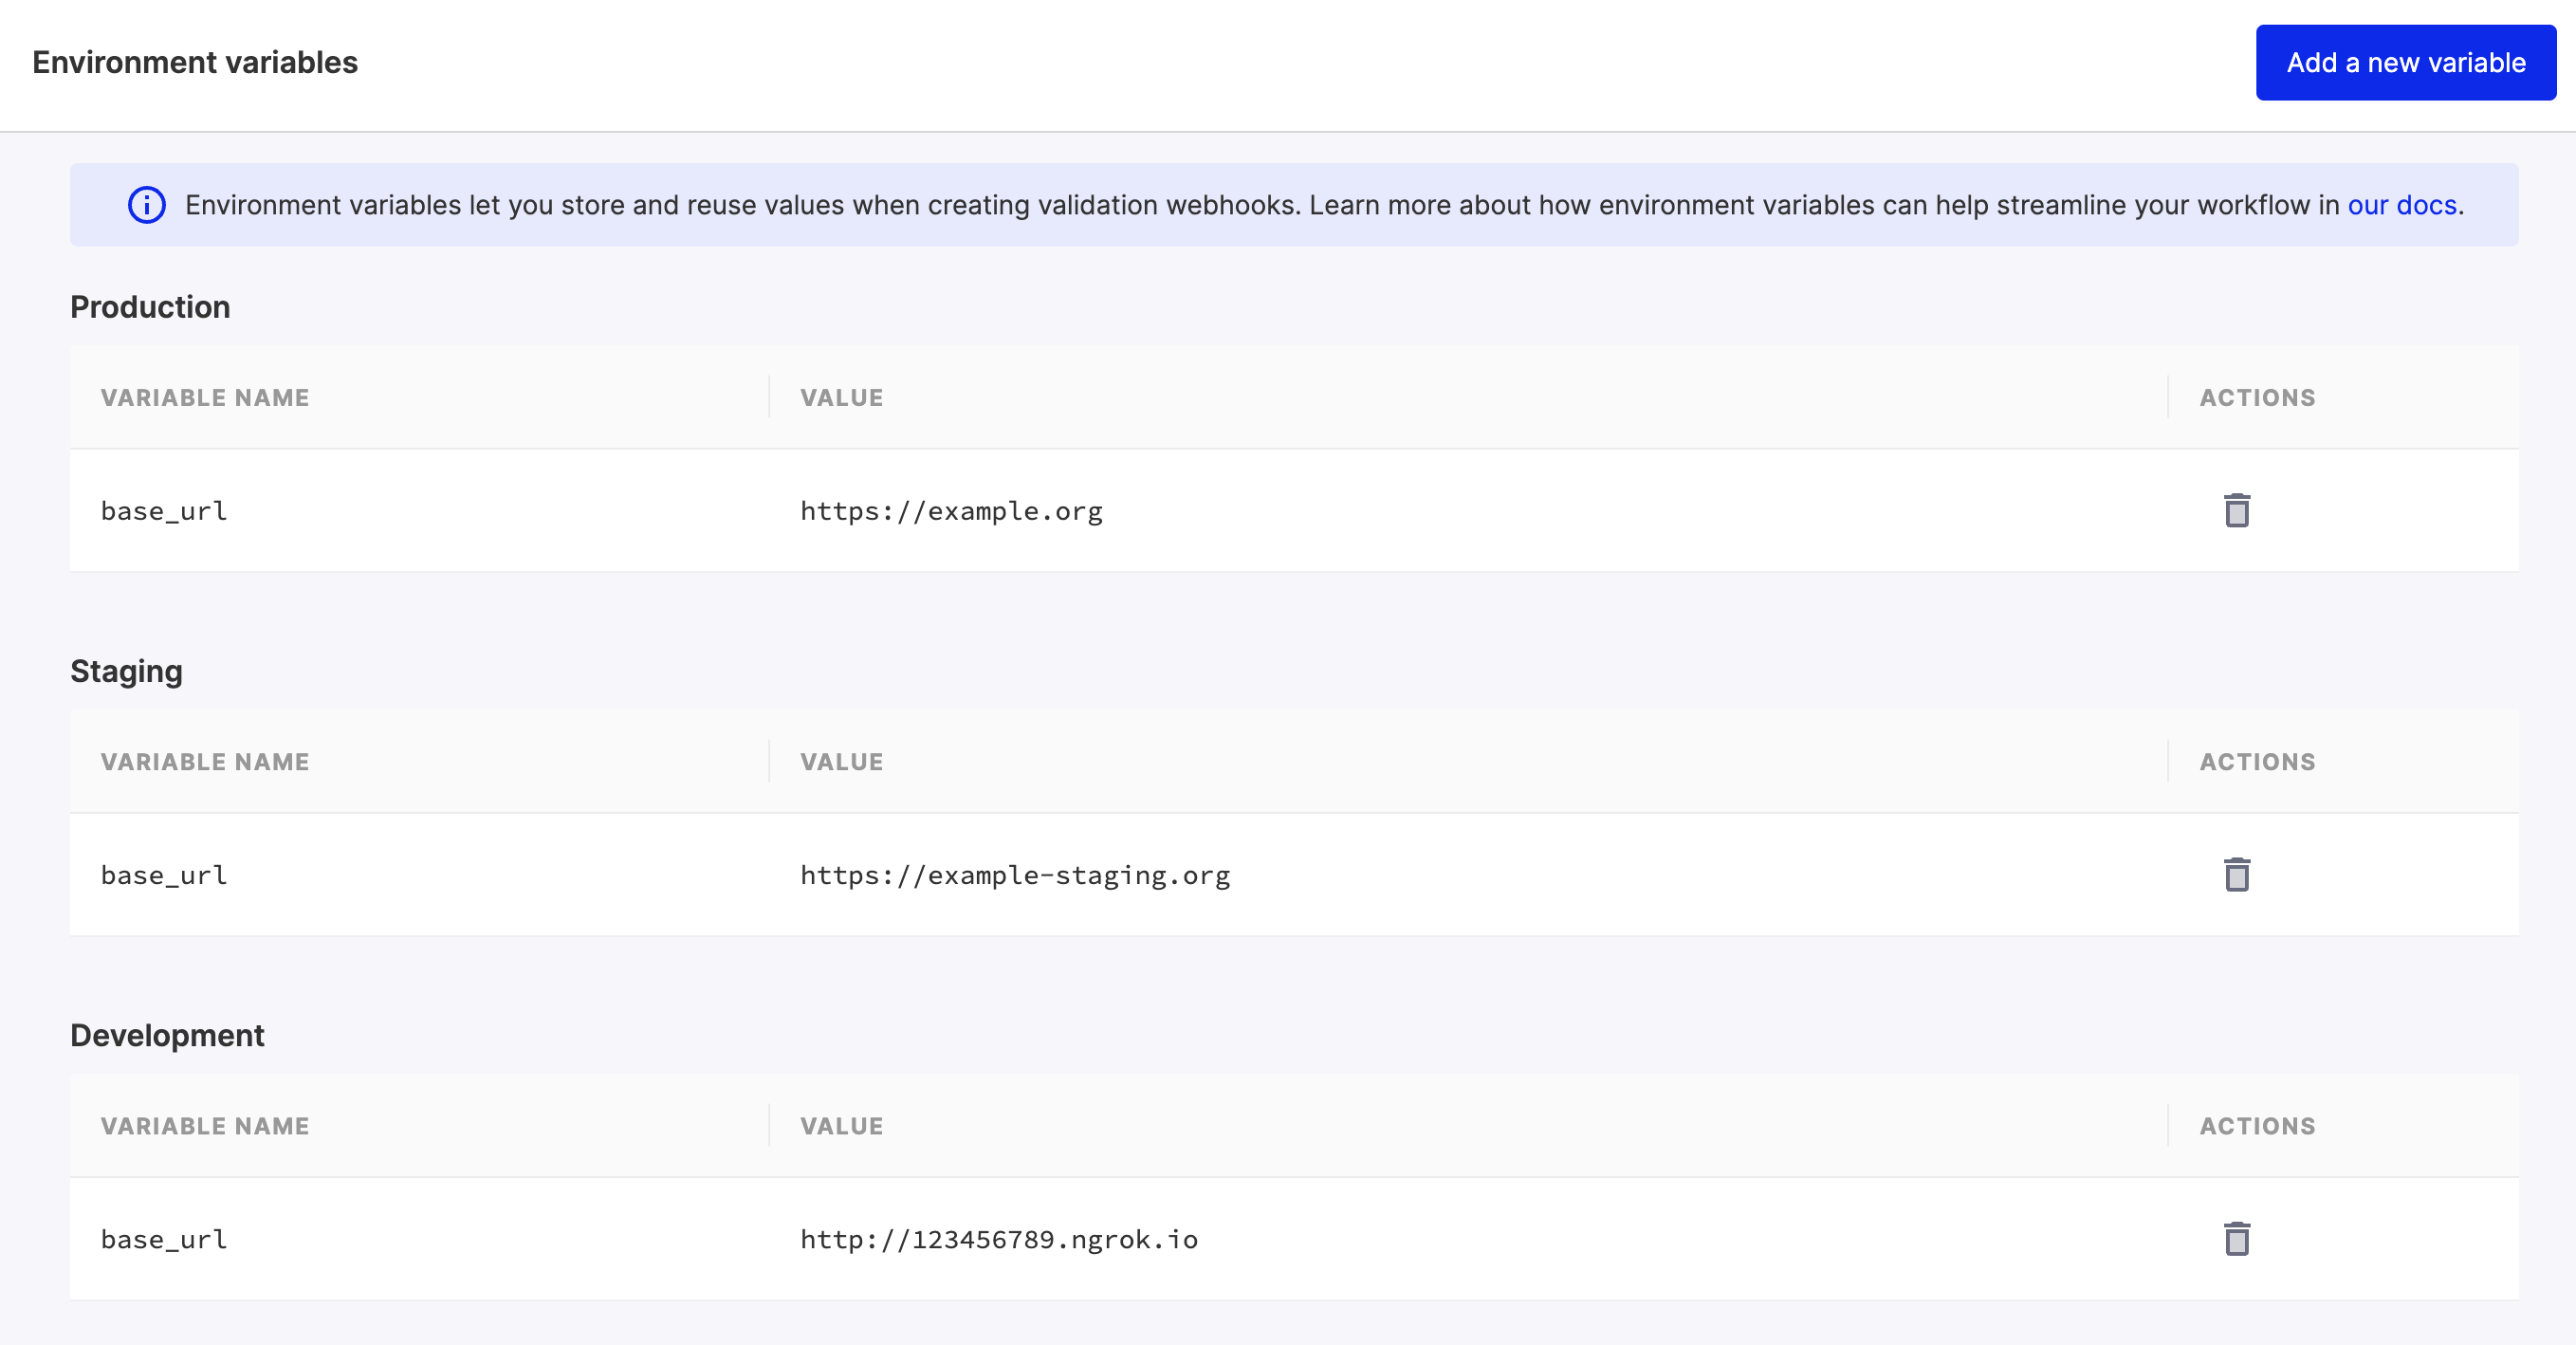
- Select the environment, provide a name, and specify a value for the variable. Variables are represented as key-value pairs.
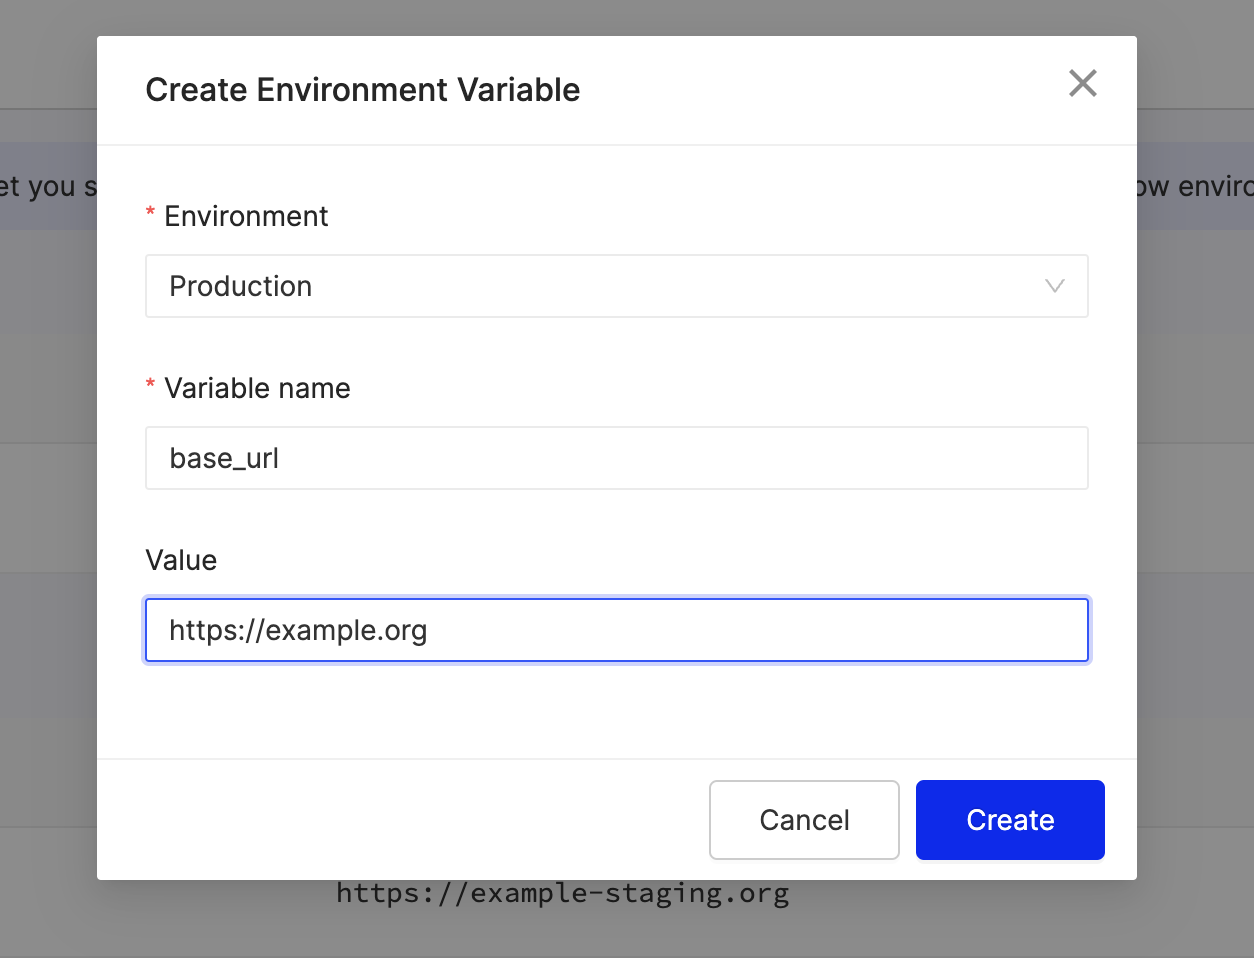
Make sure to define variables across all environments. If an embed tries to use an undefined variable, the embed will fail to initialize.
Testing Webhooks LocallyIn order to test Validation webhooks in your local environment, we recommend using either ngrok or webhook.site
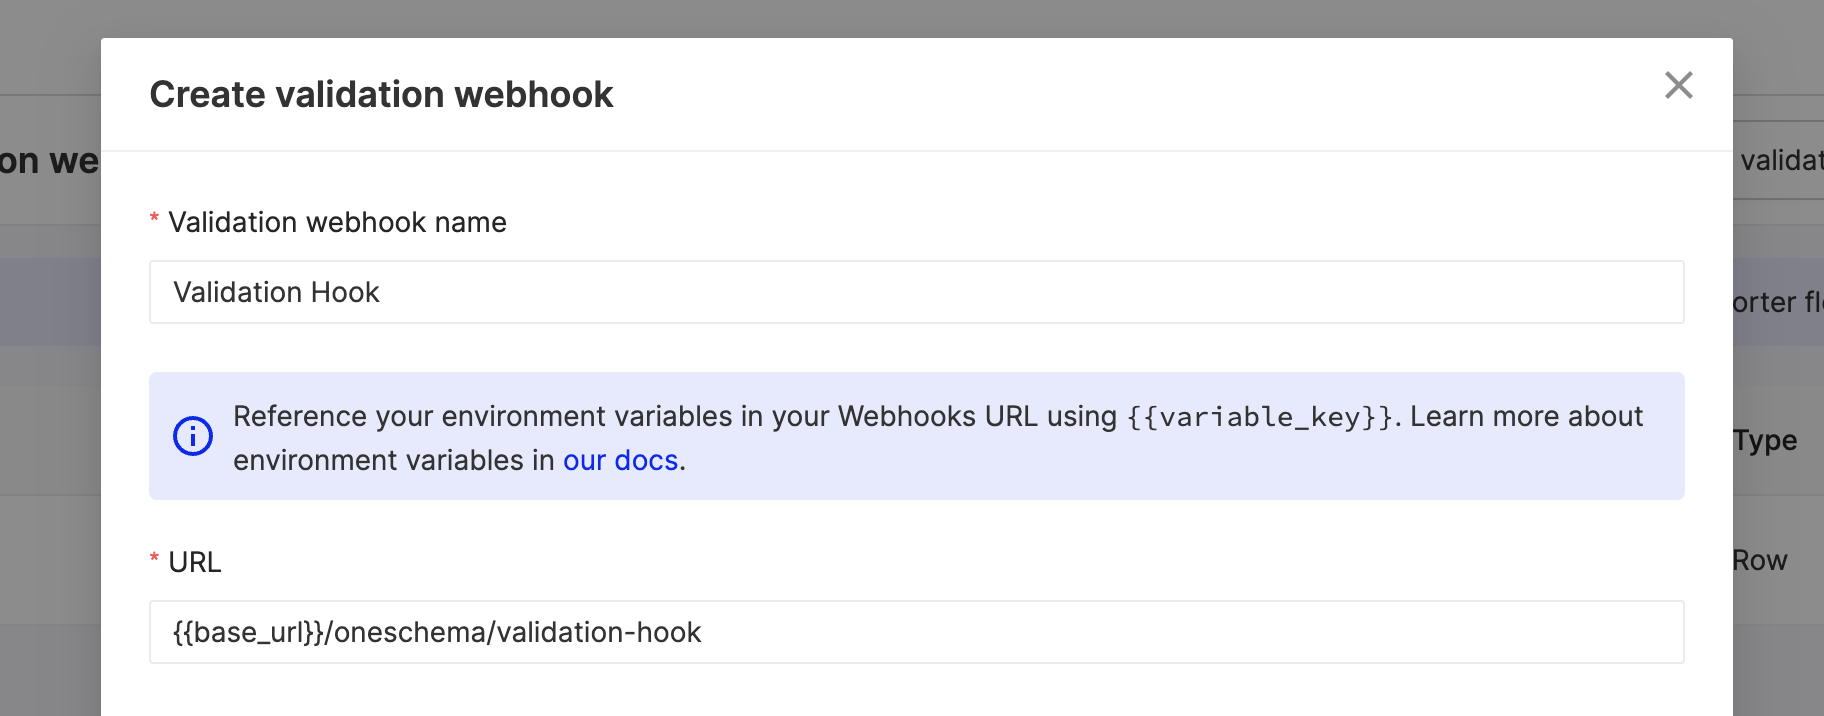
Using Variables in Validation webhooks
You can reference variables in the validation webhook URL using double curly braces. For example, to reference a variable named "base_url," use the following syntax with double curly braces around the name:
{{base_url}}/your-webhook-route
By utilizing environment variables in the webhook URL, you can dynamically adjust the webhook route based on the specific environment.
Updated 2 months ago